 Lacerte · Nov 30th 2023 · 7 Min read
Steps To Use The PDF and Component Repair tools for Lacerte
To get started with Lacerte, you can begin by downloading the software from the official Intuit website. If you encounter any problems with Lacerte, it is recommended to download and install the Lacerte Tool Hub, which can help you identify and fix common issues. If you encounter difficulties with PDF files in Lacerte, you can utilize the Lacerte PDF Repair Tool, designed to assist in repairing and resolving PDF-related issues within the software. Lacerte provides the PDF Repair tool and the Component Repair tool to help you resolve issues you may encounter occasionally.
Steps to Run the PDF Repair Tool For Lacerte
Here are two major steps to run the PDF Repair Tools for Lacerte:
Step 1: Download and install the Lacerte Tool Hub
- Close the Lacerte.Repair tools for Lacerte
- Install the Lacerte Tool Hub from the Lacerte Tool Hub file and save the file somewhere so you will be able to find it quickly (like your Downloads folder or your Windows desktop).
- Open the file (lacertetoolhub setup.exe) that you downloaded.
- Install by following the on-screen instructions and agreeing to the terms and conditions.
- When the installation is complete, double-click the tool hub icon on your Windows desktop to launch it.
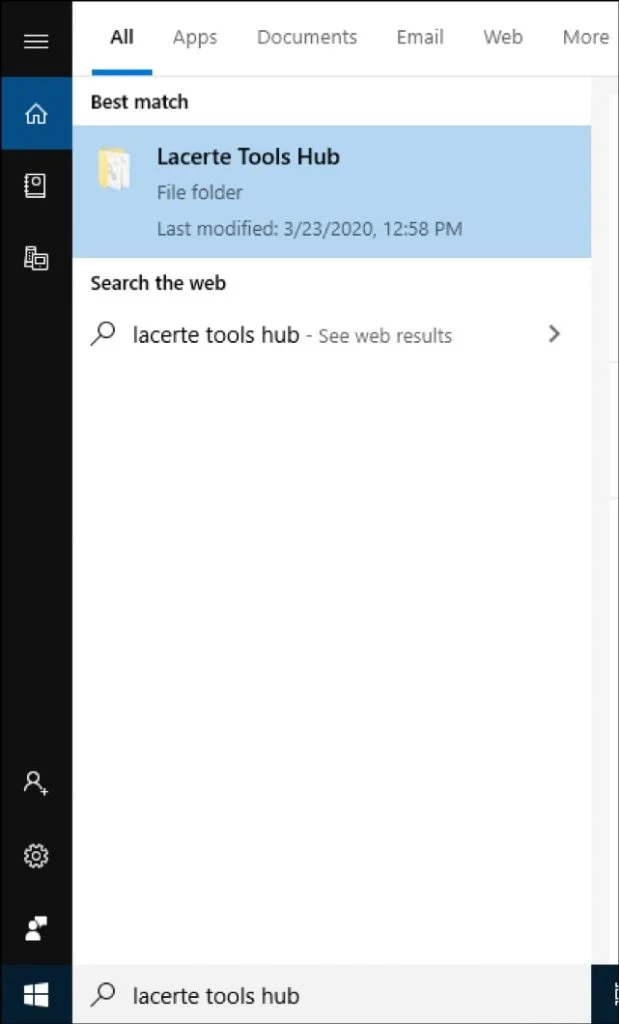
To find Lacerte Tool Hub, do a search in Windows for the program and select it.

Note: The Lacerte Tool Hub is a useful resource that provides various tools and resources to assist you with troubleshooting and resolving issues related to Lacerte software. The Lacerte Tool Hub download is available on the Intuit website, providing a centralized location for accessing the necessary tools to enhance your Lacerte experience.
Step 2: Use the Repair tool in the Lacerte Tool Hub
- Open the Lacerte Tool Hub.
- Choose Printing on the left.
- Click on Lacerte PDF Repair Tool.
- Follow the on-screen instructions to run the Lacerte PDF Repair tool.

Steps to Run the Component Repair Tools For Lacerte
The Component Repair tool should be run by an IT specialist. It is not designed to fix any printer or printing problems Here are steps to run the component repair tools for Lacerte.
Step 1: Download and install the Lacerte Tool Hub
- Close the Lacerte.
- Install the Lacerte Tool Hub from the Lacerte Tool Hub file and save the file somewhere so you will be able to find it quickly (like your Downloads folder or your Windows desktop).
- Open the file (lacertetoolhub setup.exe) that you downloaded.
- Install by following the on-screen instructions and agreeing to the terms and conditions.
- When the installation is complete, double-click the tool hub icon on your Windows desktop to launch it.
To find Lacerte Tool Hub, do a search in Windows for the program and select it.
Step 2: Use the Tool in the Lacerte Tool Hub
- Open the Lacerte Tool Hub.
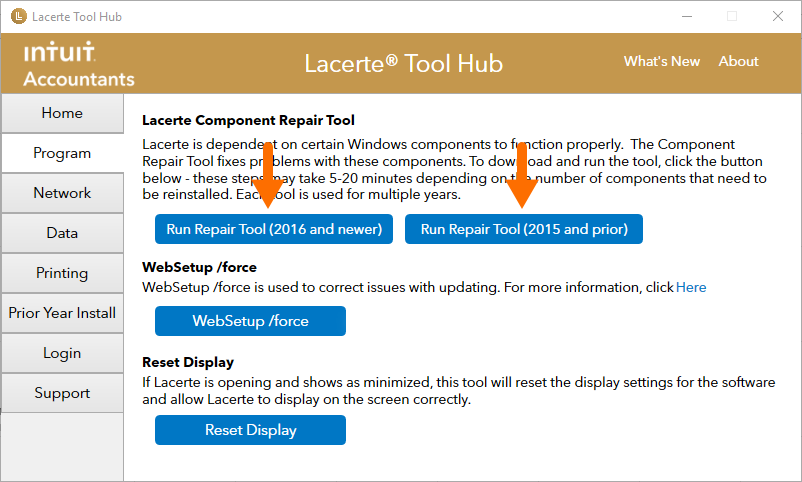
- Choose the Program on the left.
- Choose the relevant Repair Tool for the version of Lacerte you are troubleshooting from the list.
- Follow the on-screen instructions to run the Lacerte PDF Repair tool.
FAQs
What does the Component Repair tool do?
- ProSeries or Lacerte background processes are disabled.
- MSIEXEC has ended and re-registered.
- MSXML4 and MSXML6 dlls are unregistered and reregistered.
- Installs MSXML 4.0 SP3.
- Restarts and ends the Windows Installer service.
- C++ 2005, 2008, 2010, and 2012 are all repaired (ProSeries only)
- Repairs the (Lacerte) Java Runtime System.
- Client Repairs Entitlement (ProSeries only).
- Repairs the.NET Framework 3.5 and 4.5.1, and launches the.NET Checker, which allows you to manually verify your.NET installations.
How to Run the Component Repair Tool manually?
The Component Repair tool should run by an IT specialist. It is not designed to fix any printer or printing problems.
- Install the applicable version of the Component Repair tool
- Download Component Repair Tool – (2016 and newer)
- Download Component Repair Tool – (2015 and prior)
- Download the executable file and run it. By default, this file should be found in your Downloads folder.
- The Component Repair tool will run if you follow the on-screen instructions.
How do I get to the Lacerte tool Hub?
To access the Lacerte Tool Hub, you can follow these steps:
- Close any open Lacerte programs or windows.
- Open a web browser on your computer.
- Download Tool Hub by following this link: https://webservicesfp.lscsoft.com/downloads/help/toolhub/lacertetoolhub_setup.exe.
- Once the download is complete, locate the downloaded file on your computer and double-click it to run the installer.
- Follow the on-screen instructions to install the Lacerte Tool Hub on your computer.
- After the installation, you can launch the Lacerte Tool Hub from your desktop or the Start menu.

