 QuickBooks · Jan 2nd 2026 · 7 Min read
How to Add New Users in QuickBooks? A Complete Guide in 2026
Are you a QuickBooks user? This is for you. Many users worldwide encounter QuickBooks errors and issues, but struggle to find the right solution. This applies to the issue of how to add new users in QuickBooks as well. Adding a new user to QuickBooks is not a simple process, and several users can get stuck. Remember, when you add an extra user to your QuickBooks software, it will only allow you to add a new user if the plan supports adding a user as per the subscription.
In this support blog, we will learn how to add a new user in QuickBooks, and know how to add, manage, or delete users in QuickBooks Online, and more. Let’s dive in and get to know more about the topic.
How to Add New User in QuickBooks: A Complete Step-by-step Guide
Solution 1: Add a QuickBooks User Normally
Step. 1: In the QuickBooks application, head on to the Company menu and then choose the User option.
Step. 2: Now, select Set up User and Roles.
Step. 3: Now, enter your admin password and select OK.
Step. 4: Go to the Select User Tab, choose the User list, and select New.
Step. 5: Enter your username and password (It is optional)
Step. 6: Now, in the available roles section, select user roles and click Add
Step. 7: Now, click OK to add a new user in QuickBooks.
Solution 2: Add a QuickBooks User Through Send Invitation
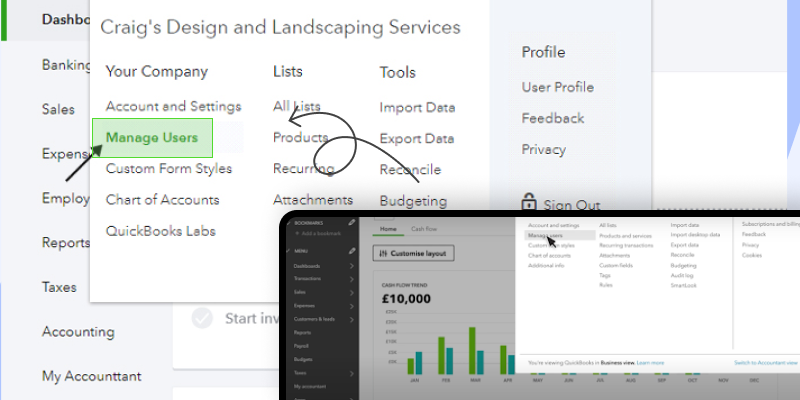
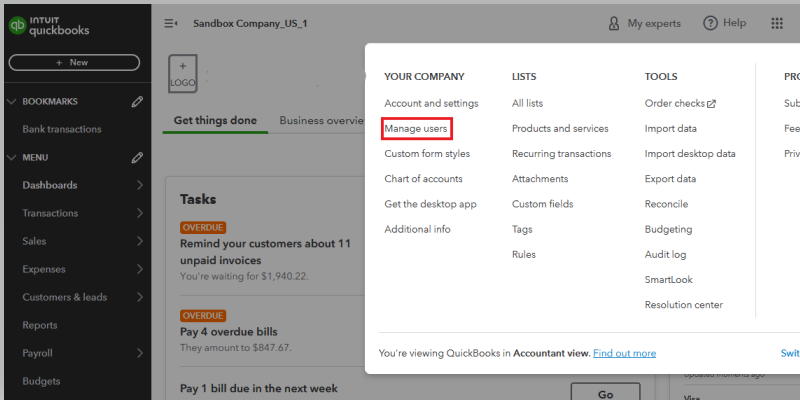
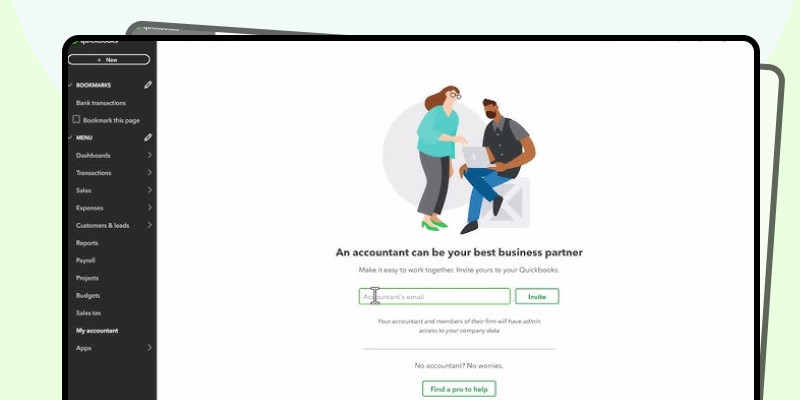
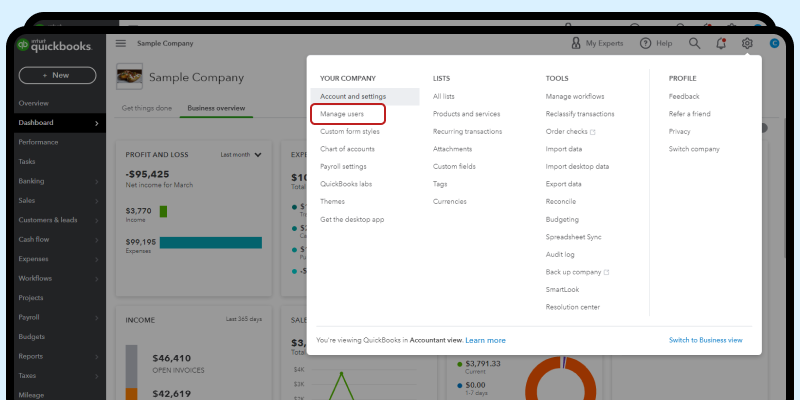
Step. 1: Go to Settings on QuickBooks and choose Manage Users
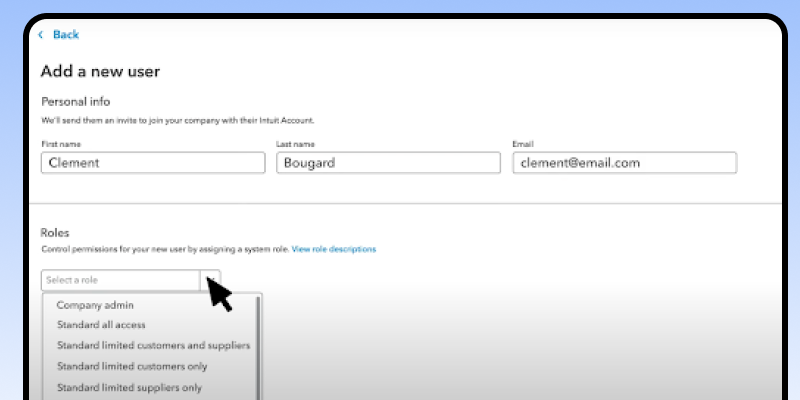
Step. 2: Now, select Add user (enter user name and email address)
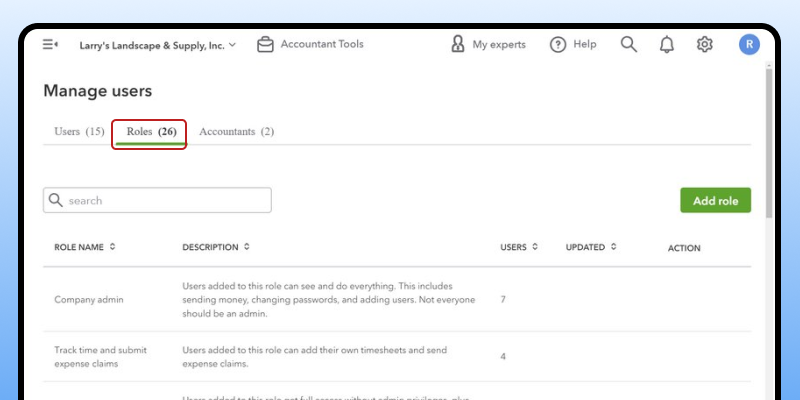
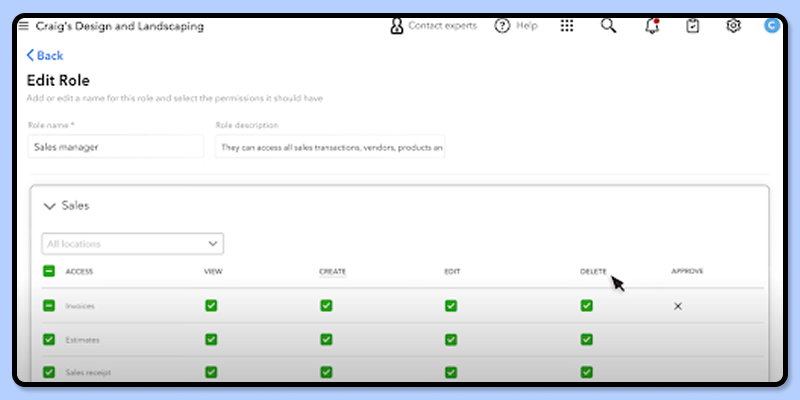
Step. 3: From the drop-down menu, select Roles and choose the role you want to give the user. (You also need to review the features you want to provide access to.)
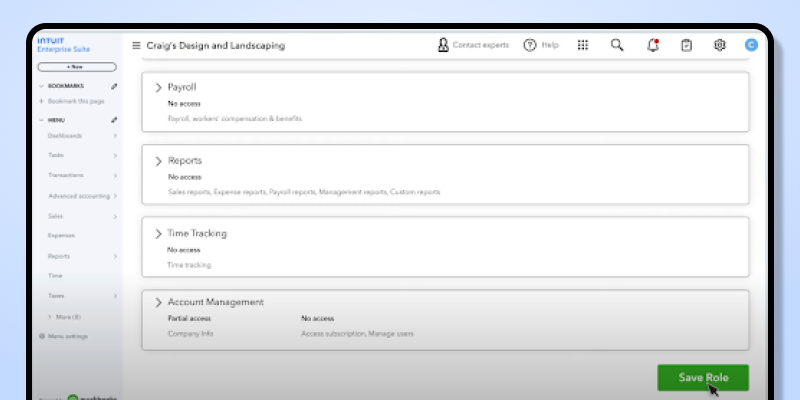
Step. 4: Now, select Account Management settings to manage the user.
Step. 5: Click on the Send Invitation to add a user in QuickBooks.
Solution 3: Add a User in QuickBooks Enterprise Suite
Step. 1: In Intuit’s Enterprise Suite version app, go to settings and choose manage users.
Step. 2: From the dropdown menu, select users and roles, and then choose the company and roles you want to provide.
Step. 3: Now, from the edit option from the Action column menu, you can change a user, delete a user, or add a user.
Step. 4: When you are done with your actions, choose Save.
How to Delete a User in QuickBooks?
Normal User Delete Guide
Step. 1: In QuickBooks, go to settings, and choose the “manage users option”
Step. 2: Select the ellipsis icon and choose the user you want to delete. Now select the Delete option.
Step. 3: A pop-up window will appear saying Delete user, Select Confirm to delete the user.
Accountant User Delete Guide
Step. 1: In QuickBooks, go to settings, and choose the ” manage users option
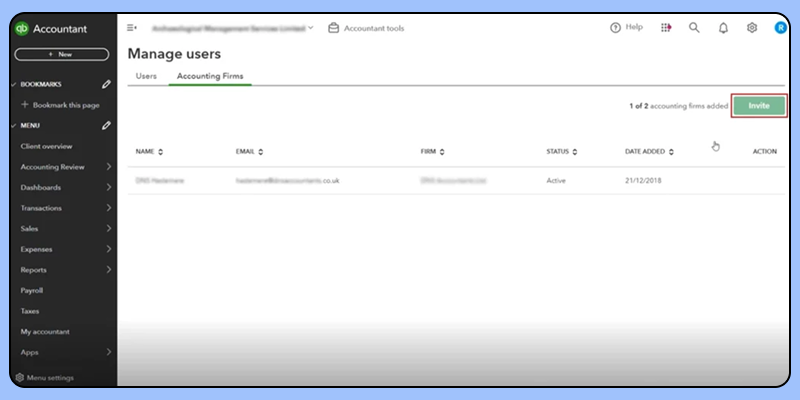
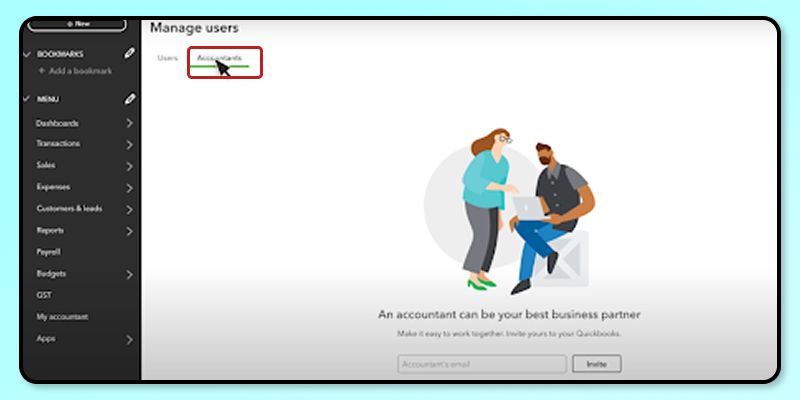
Step. 2: Click on the Accountant tab
Step. 3: Now, you need to find the accountant’s name and select Delete from the Action column option.
Step. 4: A pop-up window will appear saying “Delete user.” Select “Confirm” to delete the user.
Conclusion
It can get challenging to find a solution to a simple process. In this case, adding a new user in QuickBooks is a straightforward process once you’re familiar with it. In this guide, we have thoughtfully provided you with all the possibilities to add new users in QuickBooks. We have also provided a solution for deleting a user in both QuickBooks and QB Enterprise Suite versions. QuickBooks software is a popular tool among CPAs, accountants, and tax professionals, but some errors and issues can be fixed with a simple step-by-step guide.

