 QuickBooks · Mar 28th 2025 · 7 Min read
How To Unable the Sync Company File with Bill.com
Introduction
You may need to authorize the application to connect with your QuickBooks company file if you are not getting Bill.com to sync. If you have already tried to connect to your company file before this, you might get a notification that shows “The QuickBooks file is inaccessible.”
Steps To Follow for Syncing Company File with Bill.com
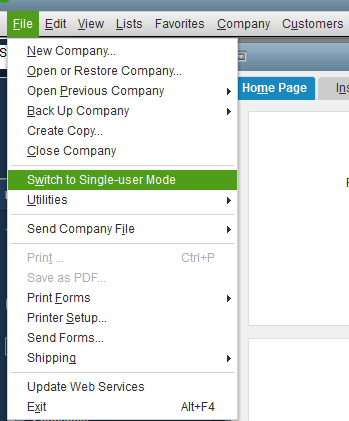
Step 1:
Open QuickBooks, log in as an administrator and switch to Single-user mode. This function is only available to the file’s admin user.
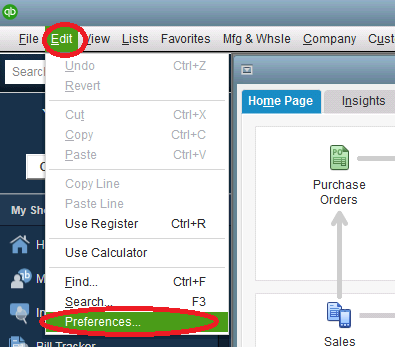
Step 2:
Go to the Edit menu and click Preferences once you’ve logged into your company file.
Step 3:
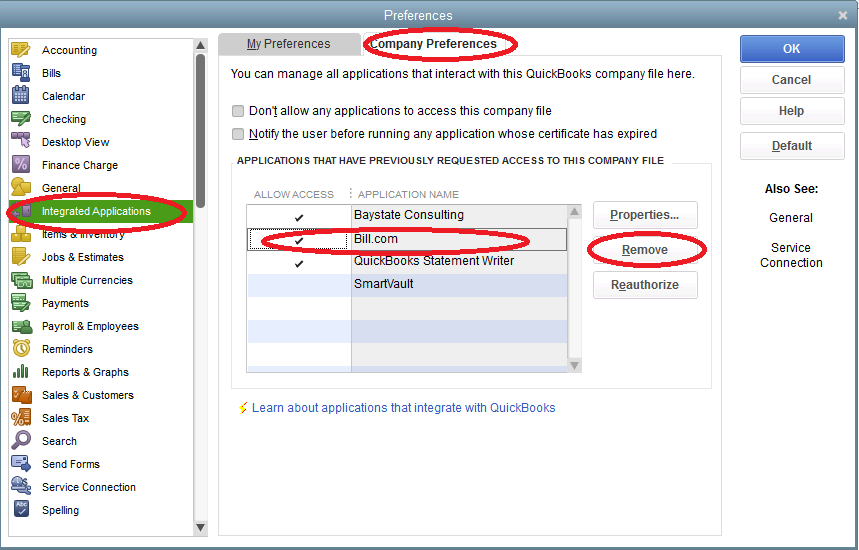
Select Integrated Applications on the left side of the options box.
Step 4:
Select the Company Preferences tab, find “Bill.com”, click on it, and then click Remove.
Step 5:
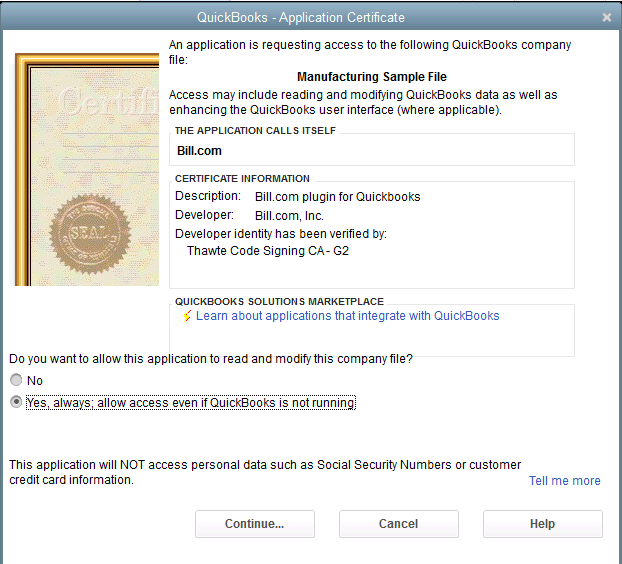
Then, open the Bill Dashboard application. After following the instructions, click Next until QuickBooks appears with the application certificate window.
Step 6:
Choose the option to Yes, always allow access. Once you click Continue and Done, you will be able to sync with Bill.com again.