 Windows Server · Mar 28th 2025 · 7 Min read
How to Change Server Name for Windows and Linux Server?
Changing the server name for both Windows and Linux servers is a straightforward process.
Here’s a step-by-step guide for each operating system:
Change Name for Windows Server
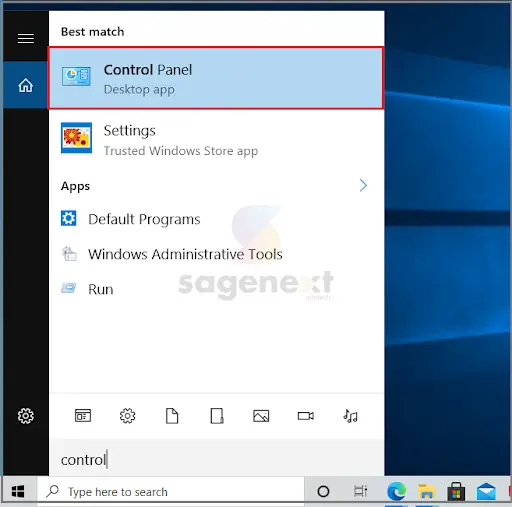
- Go to to the Control Panel using the Start menu on the bottom left corner.
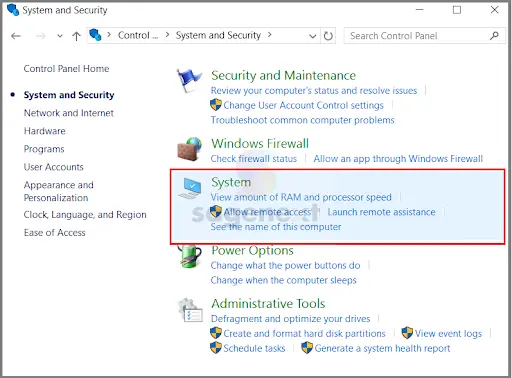
- Select the System and Security option from the Control Panel.

- Click on the System option on the screen.
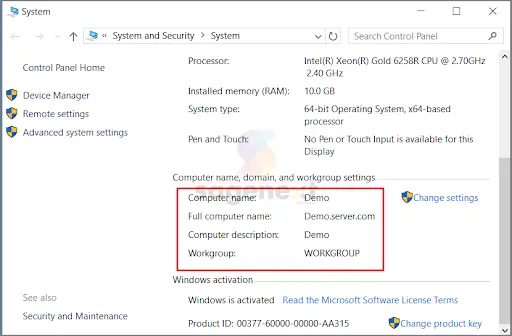
- Click on the Change settings option under the Computer name, domain, and workgroup settings heading.

- Click on the Change button in order to change the server name.

- Click on the Change button to change the primary DNS suffix of this computer name.

- Click on the OK button on the message prompt and restart your server.

- Once you restart the server, the change of name will be applied to the system
Change Name for Linux Server
- Check Current Hostname: Use the command hostname to check the current hostname of your server.
- Change Hostname: To change the hostname, use the command sudo hostnamectl set-hostname <new_hostname>, replacing <new_hostname> with the desired new name.
- Verify New Hostname: To verify the new hostname, use the command hostname again.
- Update Hostname Configuration (Optional): Depending on your Linux distribution, you may need to update the hostname configuration files. For example, on Ubuntu or Debian, edit the /etc/hostname file and replace the old hostname with the new one.
- Restart System (Optional): While not always necessary, restarting the system may ensure that all services are aware of the new hostname. Use the command sudo reboot to restart the server.
Conclusion
Changing the server name is a simple process that can be done in a few minutes. The specific steps involved will vary slightly depending on whether you are using a Windows or Linux server. Once you have changed the server name, you will need to update any DNS records that point to the old server name.

