 Windows Server · Mar 28th 2025 · 7 Min read
How to Enable Audio in Windows VPS?
If you need to know the steps to enable audio on Window VPS, please follow the guide to Enable audio in Window VPS.
Please note: Audio can be enabled for applications installed on a WIndows Virtual Private Server (VPS)
without the need to install any audio hardware on the system.
Follow this step-by-step guide to enable audio on Windows Virtual Private Server (VPS):
There are two methods to enable audio on a Windows VPS.
First method- Enable the Windows Audio Service to Resolve the Issue
Step 1.
Connect to your Virtual Private Server or VPS using the Remote Desktop Connection or RDP.
Step 2.
Next, you need to navigate to the Service MMC option using the following steps:
- Select the Start button on the bottom left of the screen.
- Scroll down to the Windows System folder and click on it.
- Now, open the Run application from the folder.
- Type the following in the Run box, you’ve opened:
services.msc
Step 3.
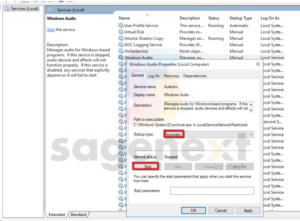
Locate the Windows Audio service from the list of services and double-click to open it.
Step 4.
A dialog box titled Windows Audio Properties will open.
Step 5.
From the window click the Start button under the Service status section.
Note: It is recommended to change the Startup type to Automatic for uninterrupted usage of the service.
This has been illustrated in Figure 1.1.
Second method- Modify the Remote Desktop Host Configurations to Resolve the issue
Step 1.
Click on the Start button on the bottom left corner of the screen.
The next steps can be completed using either Powershell or Command Prompt.
Step 2.
Navigate to the bottom and find the folder titled Windows Powershell and click on it. After that, Open the Windows Powershell application.
Step 3.
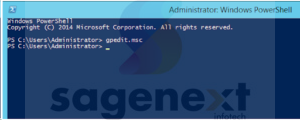
In Powershell, enter the following command and press Enter:
gpedit.msc
Close Powershell after running the command.
This has been illustrated in Figure 1.2.
Step 4.
Next, you need to open the Policy Editor using the search bar of the VPS.
Step 5.
In the Policy Editor, expand the Computer Configuration option and then expand the Administrative Templates option.
Step 6.
Now you need to open the Windows Components option.
Step 7.
From the Windows Components option, you need to do the following:
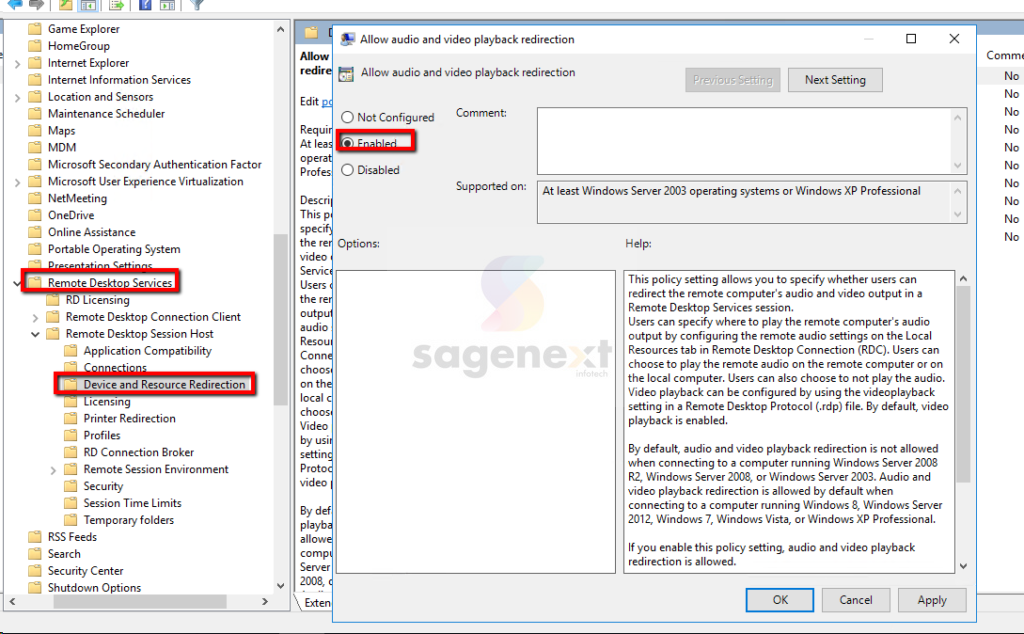
- Expand Remote Desktop Services option.
- Expand Remote Desktop Session Host option.
- Open the Device and Resource Redirection option.
Step 8.
From the Device and Resource Redirection option, you need to open the Allow audio and video playback redirection option.
The settings window for ‘Allow audio and video playback redirection’ will open where you need to select the Enabled option.
This has been illustrated in Figure 1.3.
Step 9.
As the final step, you need to reboot the server for the changes to take effect.

