 QuickBooks . May 6th 2025 . 7 Min read
Open or Restore an Existing Company File
Through this article, users can successfully open their existing company files in the QuickBooks application.
This is a guide for users who are unable to see their QuickBooks company files on the No Company Open screen. These steps will guide users to open their QuickBooks company file on the right networks.
Follow the steps provided below to successfully open your existing company file once you have launched your QuickBooks application.
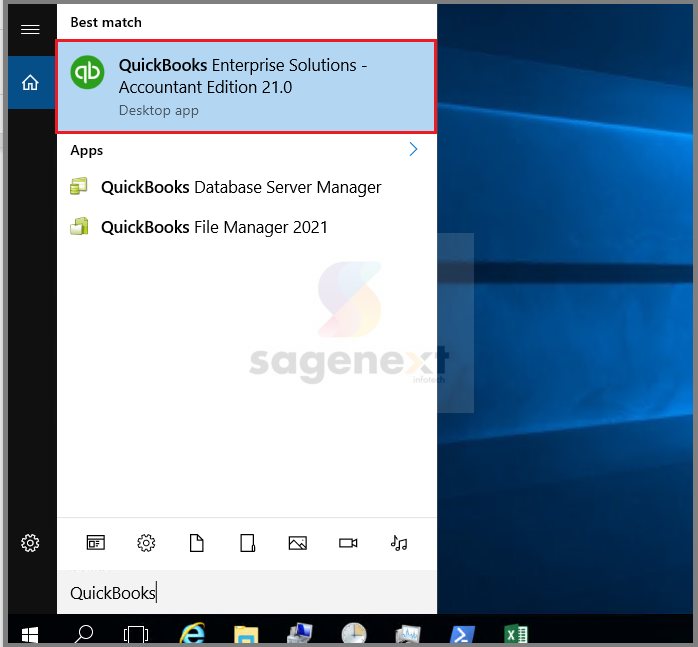
Step 1.
Open the QuickBooks application on your system to use your company file.
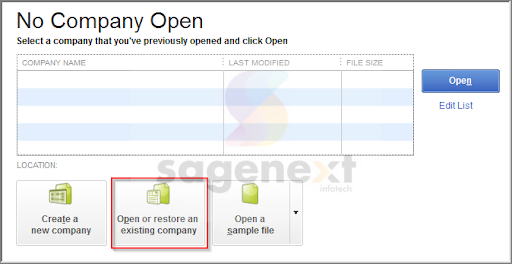
Step 2.
Next, you would be required to click on the option that says ‘Open or Restore an existing Company‘ as it appears on the screen.
This step has been illustrated in Figure 1.1.
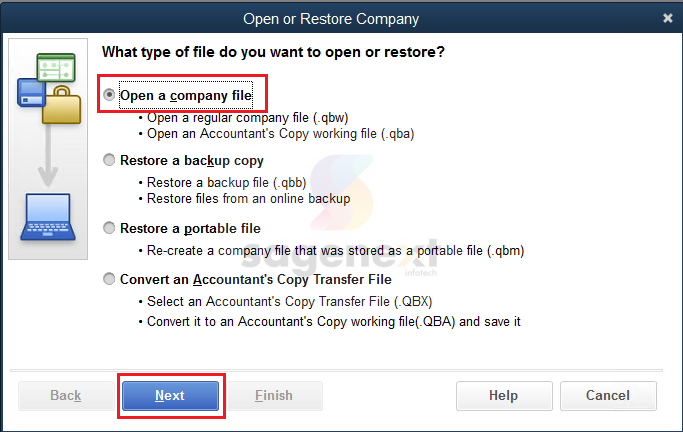
Step 3.
Next, you would be required to select the ‘Open a Company File‘ option on the screen and click on the ‘Next’ button.
This step has been illustrated in Figure 1.2.
Step 4.
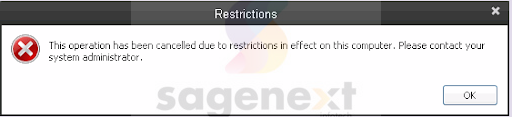
Please note that you may come across certain Restrictions errors while opening the company file. Users are advised to click on the OK option whenever the restriction window appears to proceed further in the process.
Generally, the error is false in nature. It says the operation has been canceled due to some restriction on the computer, yet, it is a mere technical error.
Users do not need to worry about their data as such an error will not harm their company file in any negative way.
This has been illustrated in Figure 1.3.
Step 5.
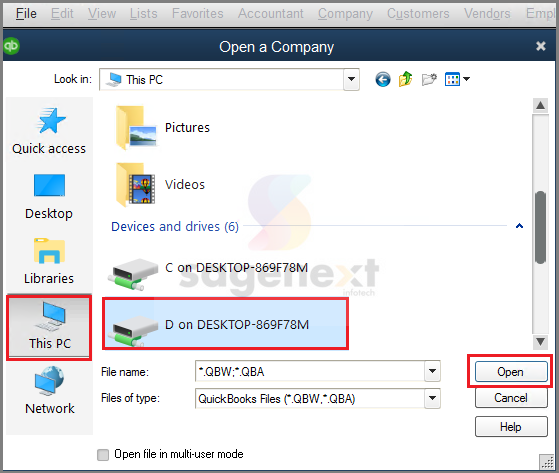
After that, the browsing window will pop-up on the screen. Users need to select the This PC option from the left panel on the browsing window.
Step 6.
Following this, you would need to double-click and open the D:\ drive (or any such drive where you have saved your company file on the computer) option to open it.
In some cases, the users may be required to hover the cursor using the mouse over the drive in order to find the name of the drive.
This step has been illustrated in Figure 1.4.
Step 7.
From within the drive, you would have to navigate to the folder where you have saved your company and open it on the system.
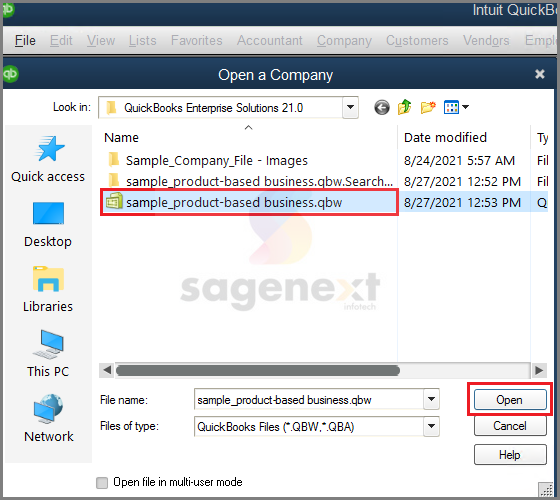
Step 8.
Next, you need to select the company file that you need to use on your system and then click on the Open option.
This step has been illustrated in Figure 1.5.
Note: The image is only for reference purpose and the actual file name can vary. However, the company file is always named after your company.
Step 9.
After the completion of above-listed steps, you will be able to log in to the company file using your QuickBooks username and password.
 written by
