 Microsoft office · Jul 30th 2024 · 7 Min read
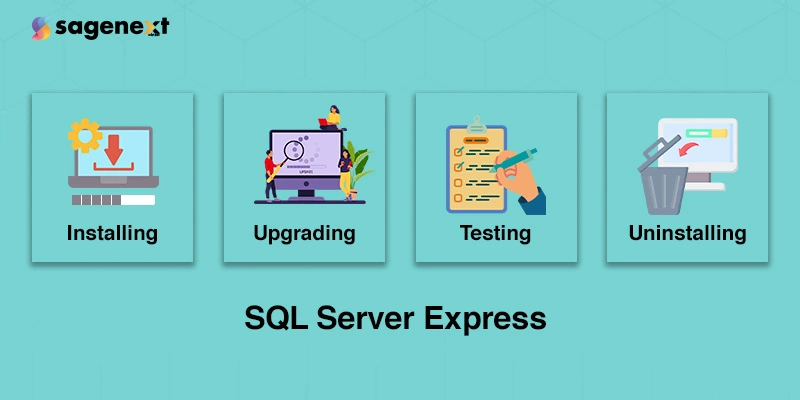
How to SQL Server Express Install, Test, Upgrade, and Uninstall?
The last several versions of Microsoft’s SQL server have seen the introduction of a number of new features. However, not all users will find these necessary, and many may wish to turn to the more lightweight SQL Server Express instead.
The steps for installing, testing, upgrading, and uninstalling SQL Server 2019 Express are described in detail in the following guide.
What is SQL Server Express
SQL Server Express is a free version of Microsoft’s SQL Server. This version has limited features, with a 10 GB maximum database size and no SQL Server Agent support. Because of this, it is best suited for lightweight, data-driven applications.
Next, we will discuss the steps for the installation of the SQL server 2019.
Note: Installation Process for SQL Server 2019 Express, SQL Server 2008, 2012, 2014, 2016, and SQL Server 2017 are the same.
Steps to Install Microsoft SQL Server Express
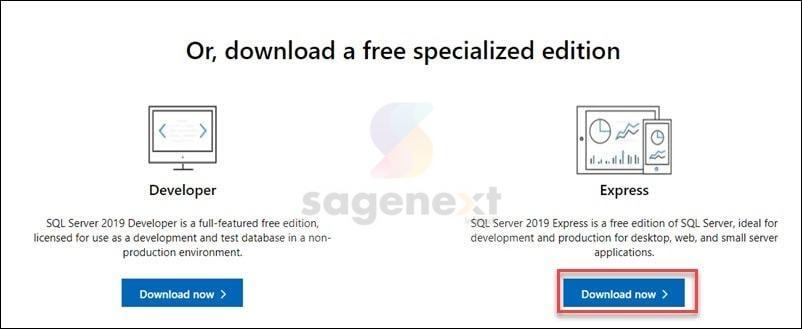
Step 1. Visit the Microsoft Website and click on Download Now.
Read Also: How to Download SQL Server Express With Latest Edition
Step 2. Run the Installation File as an administration

Note: SQL2022-SSEI-Expr is the default name for the installation file.
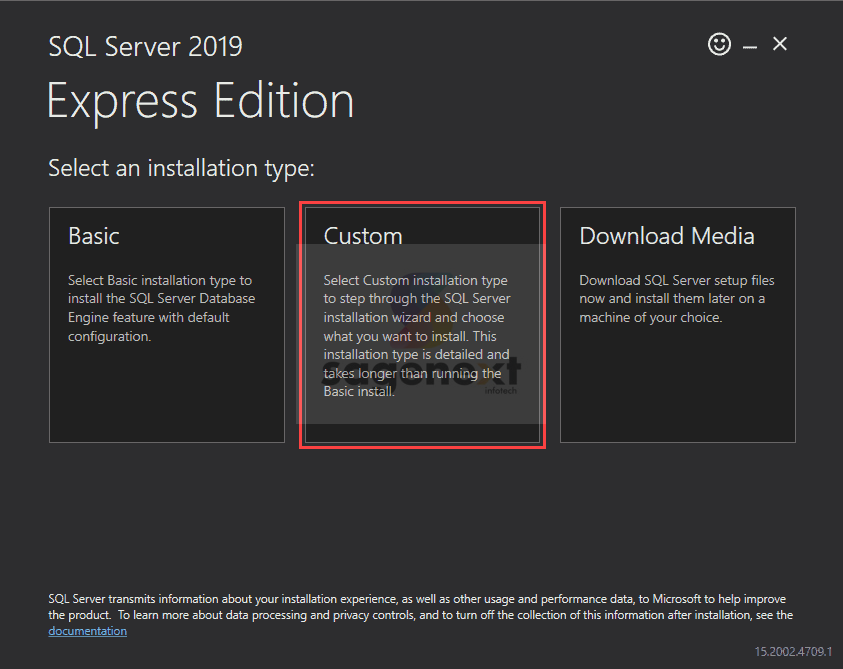
Step 3. Select the Installation Type
After you’ve started the installation, you’ll have the option of choosing one of three installation types.
- The Basic installation is the fastest and installs SQL Server Database Engine in its default configuration.
- You can define the install location with the Custom installation. You can also choose which features are installed.
- You can download the setup files for an offline installation using the Download Media installation method. You can select the SQL Server Engine version you want to download.
Step 4. Choose Custom Installation Type
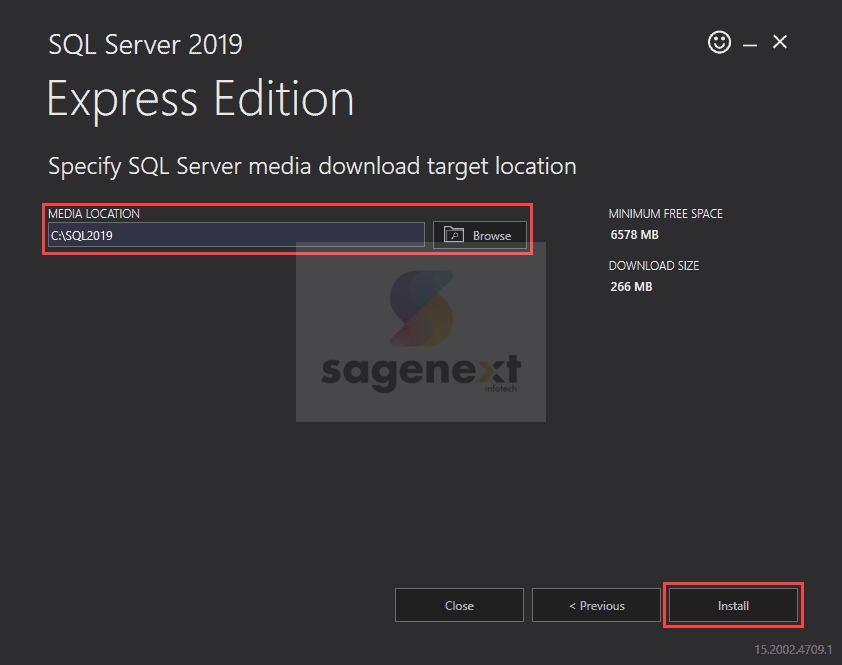
Step 5. To start downloading the setup files, specify the installation location and click Install.
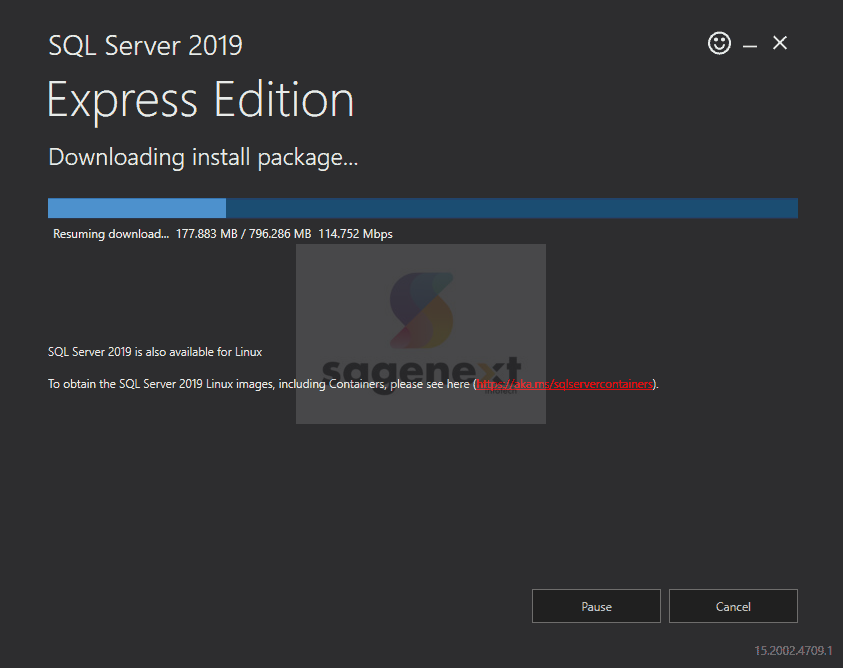
Step 6. Process Downloading Setup File
Step 7. Select New SQL Server Stand-Alone Installation
The SQL Server Installation Center is opened once the wizard has finished downloading the install package. This window has a variety of tools for installing and managing your SQL server.
To start the installation process, select the New SQL Server stand-alone installation or add features to an existing installation option as shown in figure 1.7

Step 8. To continue, select the box next to I accept the license terms and the Privacy Statement, then click Next.

Step 9. Check “Check for SQL Server 2019 upgrades in scheduled Windows updates” box, then click Next.

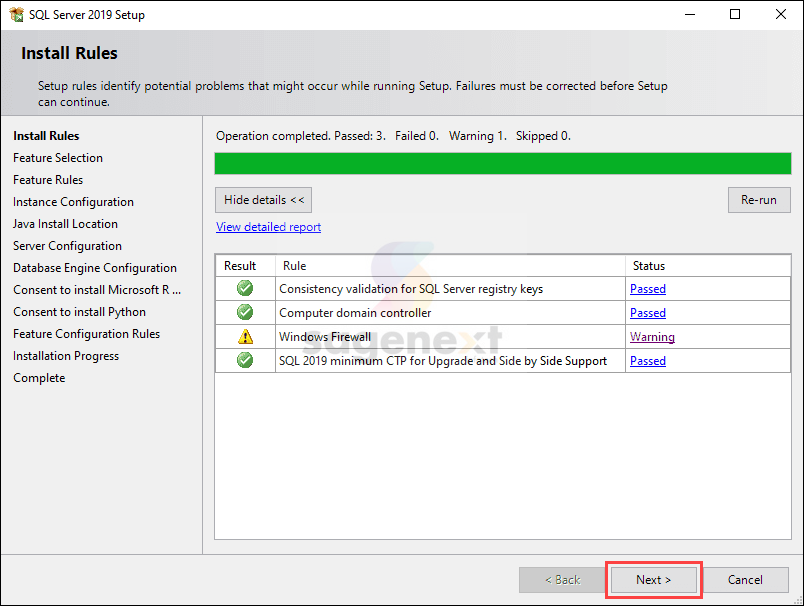
Step 10. Review the Install Rules screen for errors. Fix any failed entries before proceeding. If all checks pass, click Next to continue the installation.
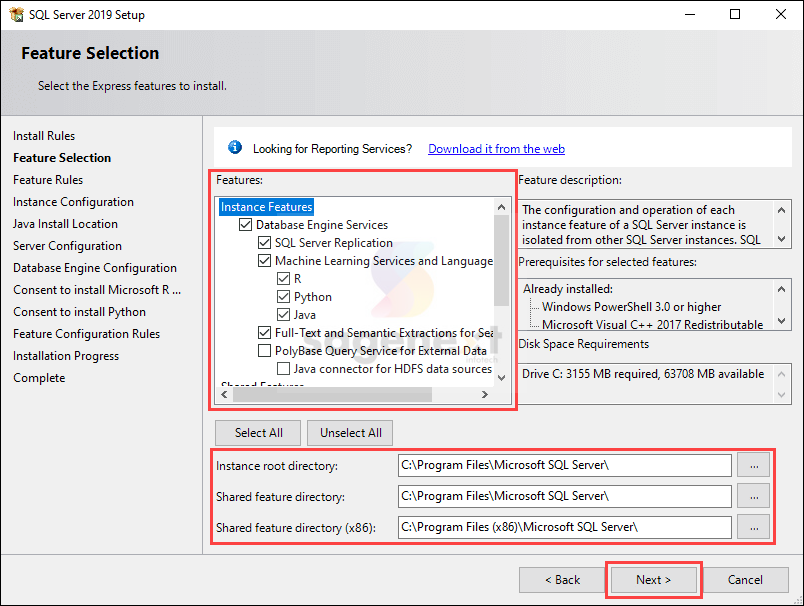
Step 11. Select desired SQL Server 2019 components, specify installation paths, then click Next to proceed.
Step 12. Specify Name and Instance ID and click Next.

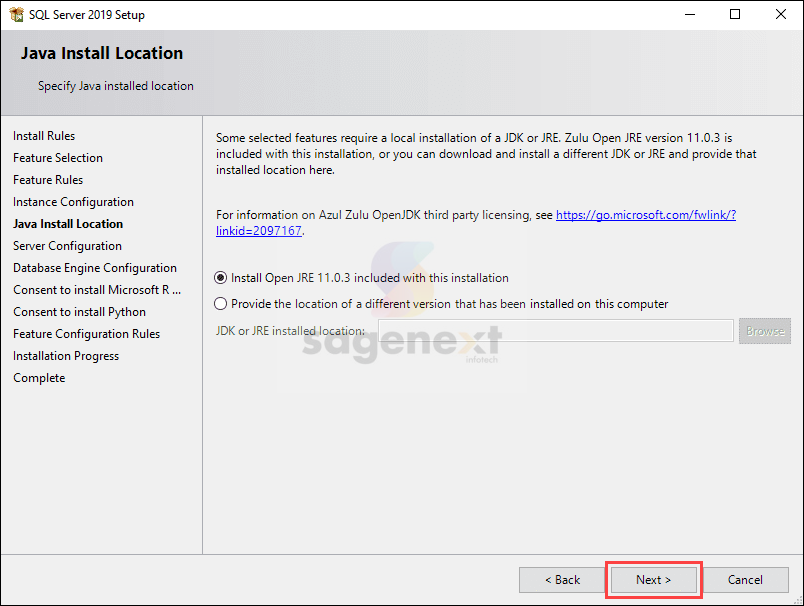
Step 13. Specify Java Installed Location and click Next.
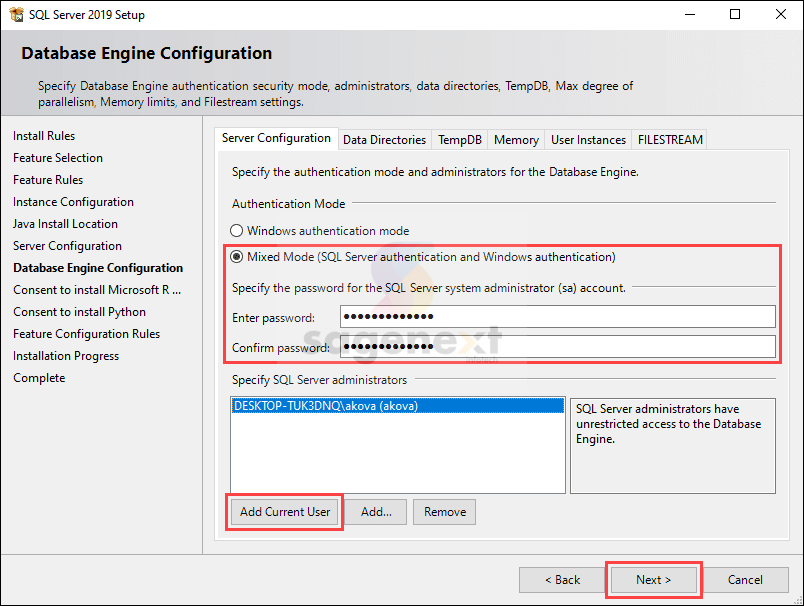
Step 14. Specify Database Engine Authentication and click Next.
Step 15. You must agree to install Microsoft R Open. Click Accept and click on Next.

Step 16. Installation progress

Step 17. Complete the Installation and click Close.

Note: If you want the changes to effect, you must restart your computer.
Steps to Test Connection to SQL Server Express
There are two methods to test your connection to Server Express:
- Using the SQL Server Management Studio.
- Using the command prompt.
Step 1. Download SSMS

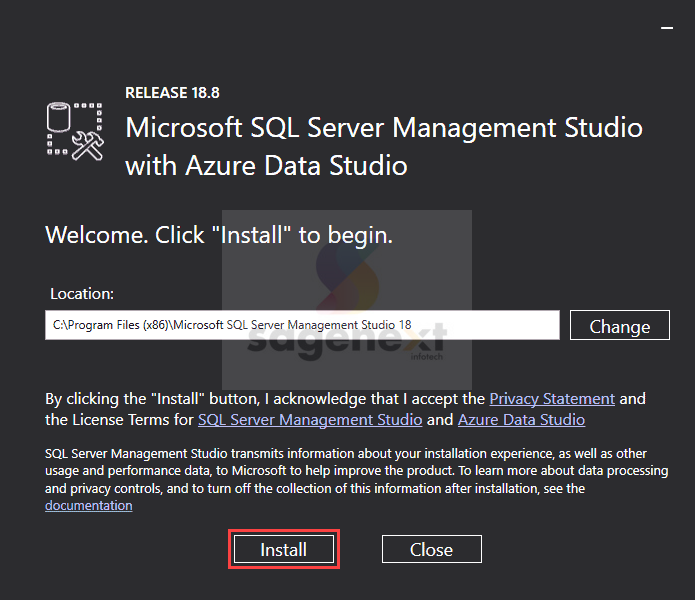
Step 2. Open the installation file and click Install.
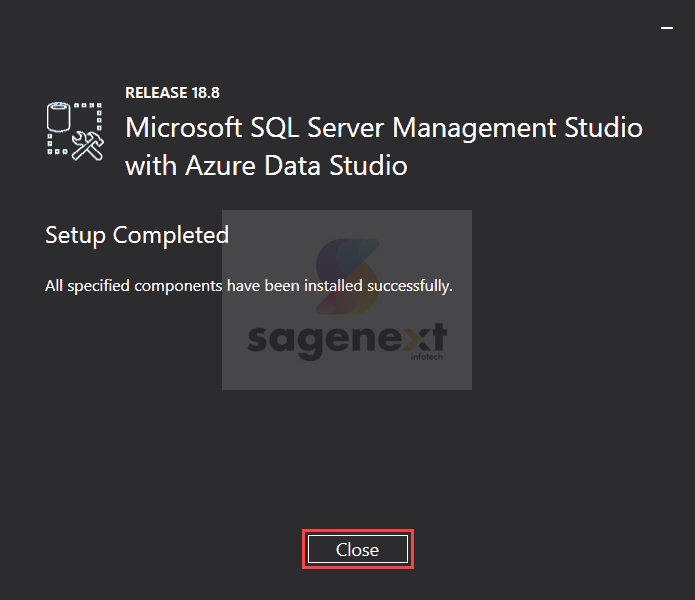
Step 3. Once the setup is done, click Close to exit.
Step 4. Select SQL Server Authentication, input ‘sa’ as login, use setup password, click Connect.
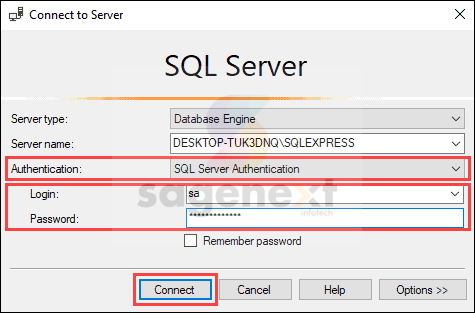
If the login window closes without error and you can see the main window of SQL Server Management Studio, the connection is working properly.
How to Update SQL Server Express
The Server Express update procedure is similar to installing the application from scratch. We’re going from SQL Server 2017 to SQL Server 2019 in this example:
Step 1. Select the Upgrade from a prior version of SQL Server option in the SQL Server Installation Center box.
Step 2. Click Next after the installation has finished search for online updates.

Step 3. Accept Microsoft Software License Terms and click Next.

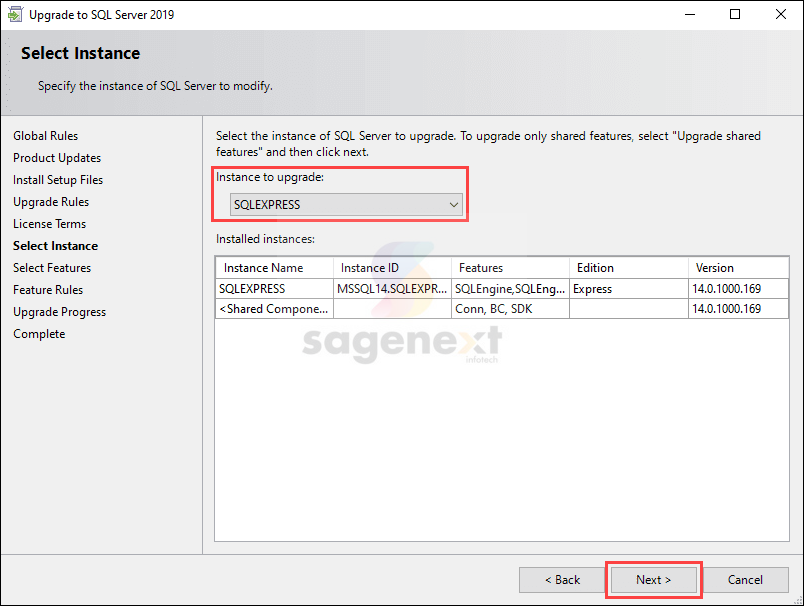
Step 4. Click Next after selecting the SQL Server instance you want to update from the drop-down option.
Step 5. Accept and then Next on the coming two screens to allow Microsoft R Open and Python to be installed.

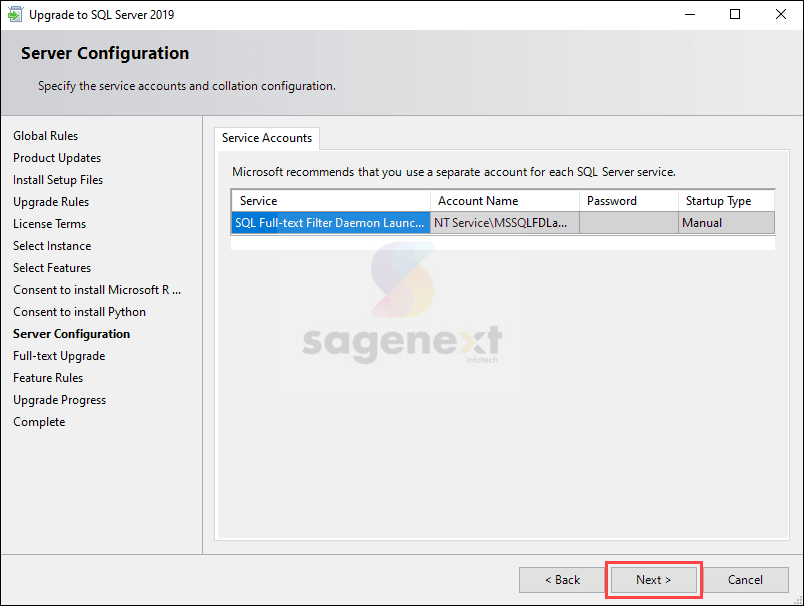
Step 6. To update the server configuration, click Next on the screen.
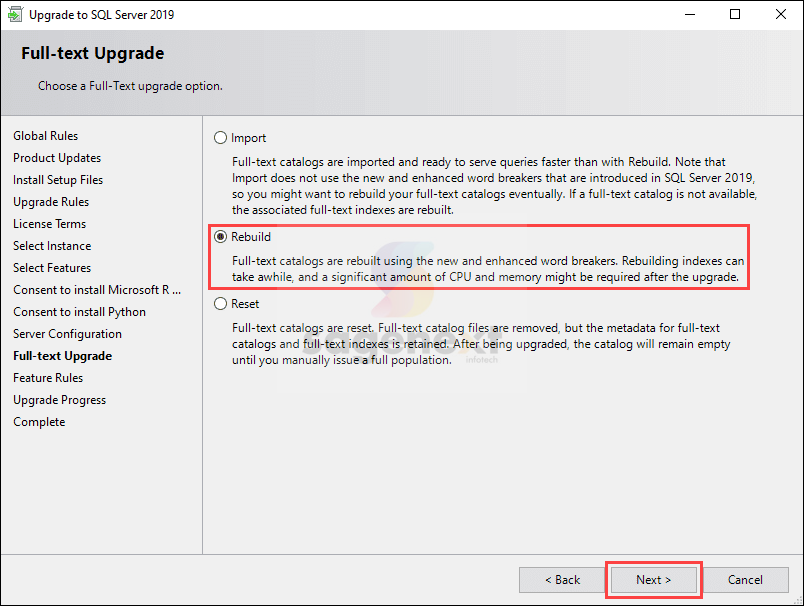
Step 7. Choose Rebuild and click Next.
Step 8. After the update is complete, click Close to close the update window.

How to Uninstall SQL Server
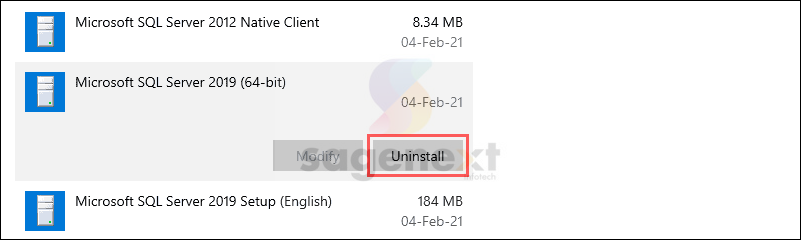
Step 1. To uninstall SQL Express, go to Start > Settings > Apps and choose Microsoft SQL Server 2019.
Step 2. Select the entry and click Uninstall.
Step 3. Choose the Remove option in the uninstall window.

Step 4. Select the SQL instance you want to remove. Click Next to proceed.

Step 5. Click Select All to remove all features, and then Next to proceed.

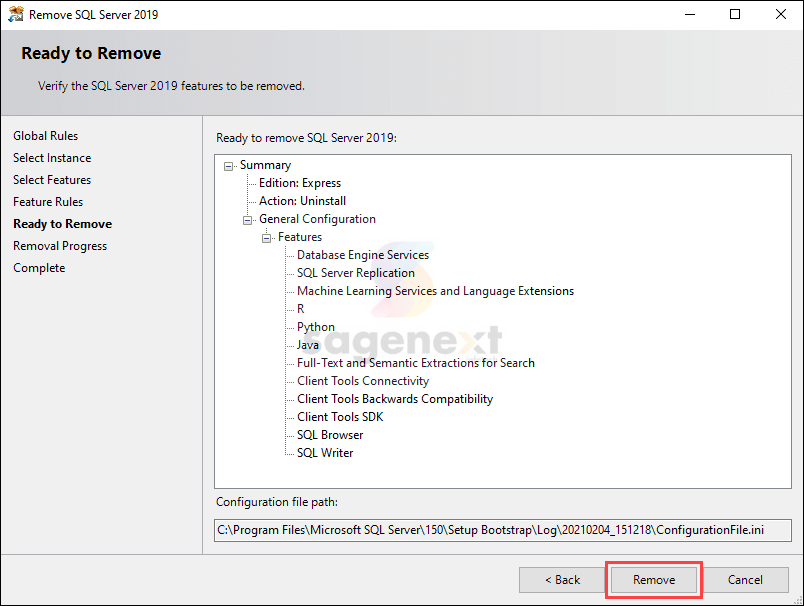
Step 6. Click Remove to start the uninstall process.
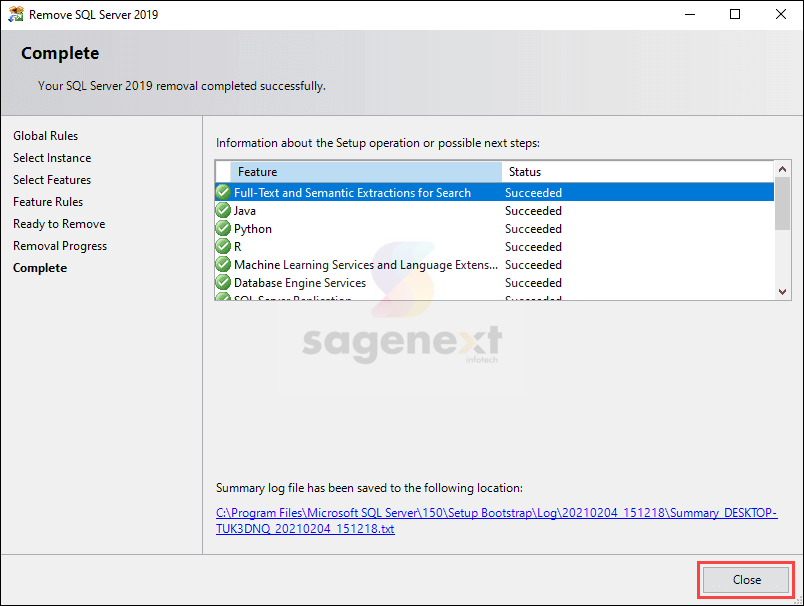
Step 7. Click Close to exit the uninstall window.
Conclusion
After following this guide, you should have a fully functional copy of Server 2019 Express installed and ready to use. You will also be able to upgrade or uninstall your copy of SQL Server 2019 Express.
FAQs
What is the difference between SQL Server and SQL Express?
SQL Server Express is like a free, smaller version of SQL Server, suitable for learning or small projects. SQL Server offers more features, power, and scalability for larger databases and complex applications, but it comes with a cost.</p>
Is SQL Server
Express free?
Yes, SQL Server
Express is completely free to download, distribute, and use.
What are the downsides of SQL Server Express?
SQL Server Express has limitations in terms of database size (10GB), memory, and processing power.
What can I do with SQL Server Express?
SQL Server Express is ideal for small-scale applications, development, and learning. You can use it for desktop apps, web applications, and mobile app data storage. It’s great for prototyping, testing, and small-scale production environments.

