 QuickBooks · Nov 6th 2024 · 7 Min read
How To Use Importer Transaction Pro?
In today’s fast-paced business world, efficiency and accuracy in data management are crucial. Importer Transaction Pro is an invaluable tool that helps streamline the process of importing transactions into QuickBooks, saving you time and reducing errors. Whether you’re a seasoned accountant or a small business owner, learning how to use Importer Transaction Pro can significantly improve your bookkeeping workflow. In this blog, we provide easy steps to guide you through using this powerful tool effectively, ensuring you can make the most out of its features and capabilities. Let’s dive in and explore how you can master Importer Transaction Pro!
Steps to Use Importer Transaction Pro
Step 1: Get Started
- Log in and launch QuickBooks into your company file after adding Transaction Pro to your account.
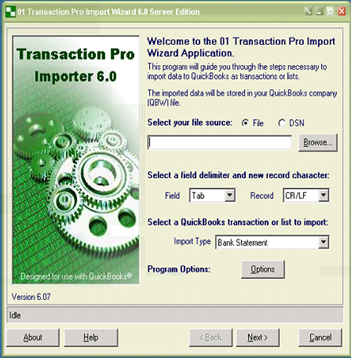
Step 2: Open Importer Transaction Pro
- Open Importer Transaction Pro and you can see details in the picture below.
Step 3: Locate the File
- Then, click on BROWSE and it will open a window to locate the file you want to import. (the below is just a sample)
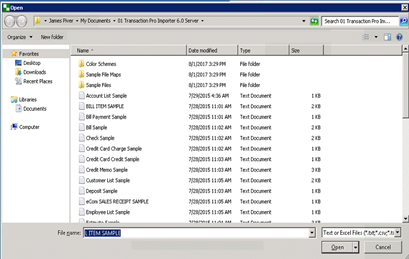
- Locate your file and click Open.
- You can continue importing and can make alterations from here.
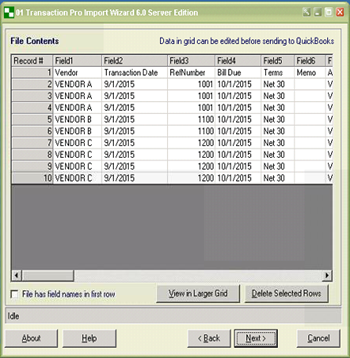
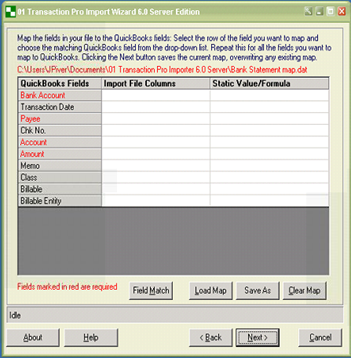
Step 4: Match Fields Manually
- Click Next when ready.
- Before you may continue onto another step, you must manually match fields.
Step 5: Finish Changes
- Once you have finished any needed changes, click Next.
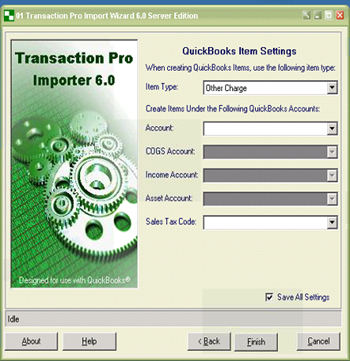
- Add in any appropriate information and click FINISH!
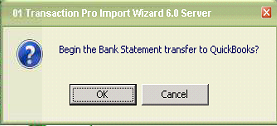
- Click on OK here too.
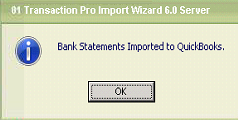
- Login to your QuickBooks file and double-check that your data was imported accurately.
Follow all these steps to use Importer Transaction Pro effectively.
Get a start with Transaction Pro: Importer is easy.
If you do not already have access to it, you can always set up access via the Marketplace or by contacting sales@thesagenext.com.

